
澳洲幸运5开奖官网结果记录-新的澳洲幸运五历史记录查询-在线开奖直播 Lunch just got even tastier
Lunch just got even tastier
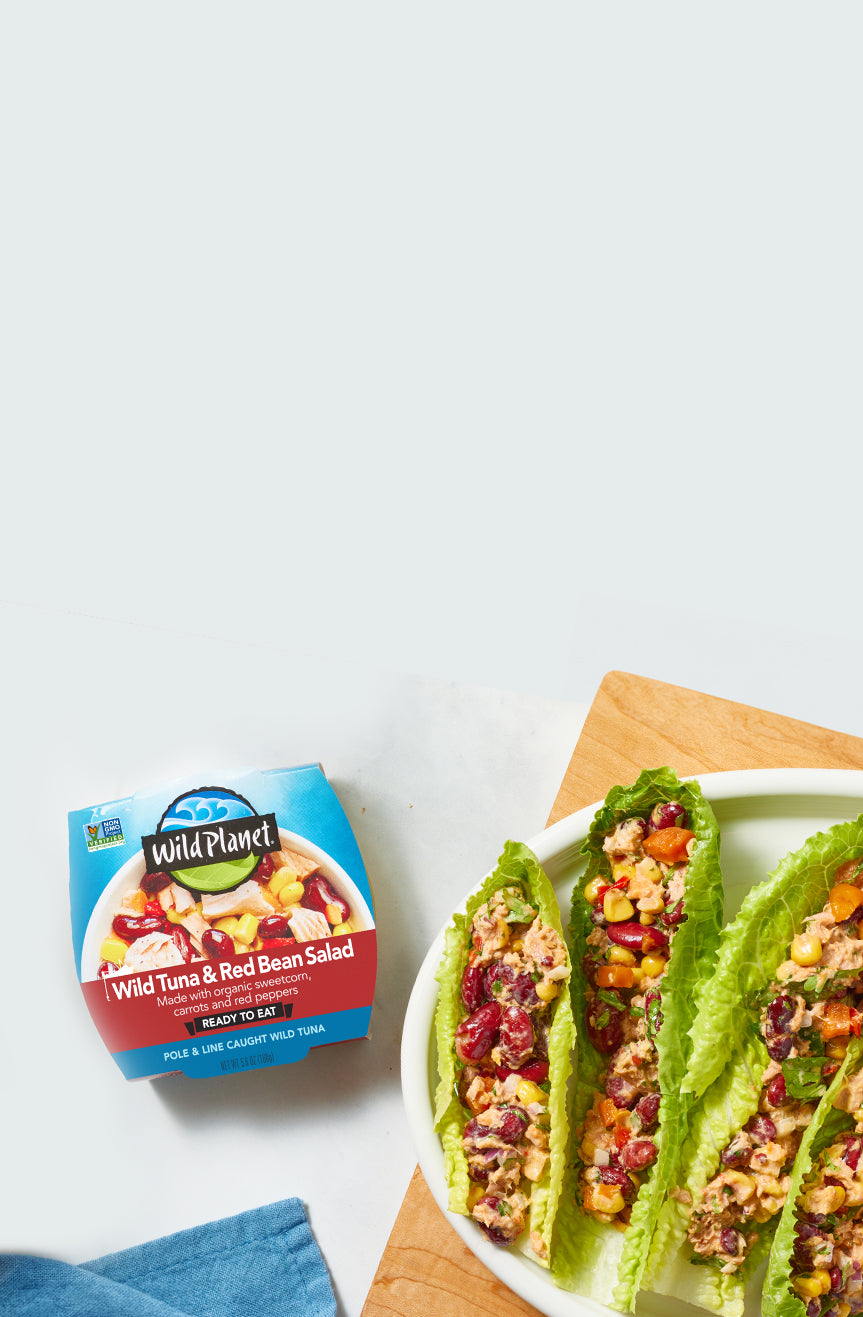
Completely ready-to-eat.
No preparation, refrigeration
or heating needed to enjoy
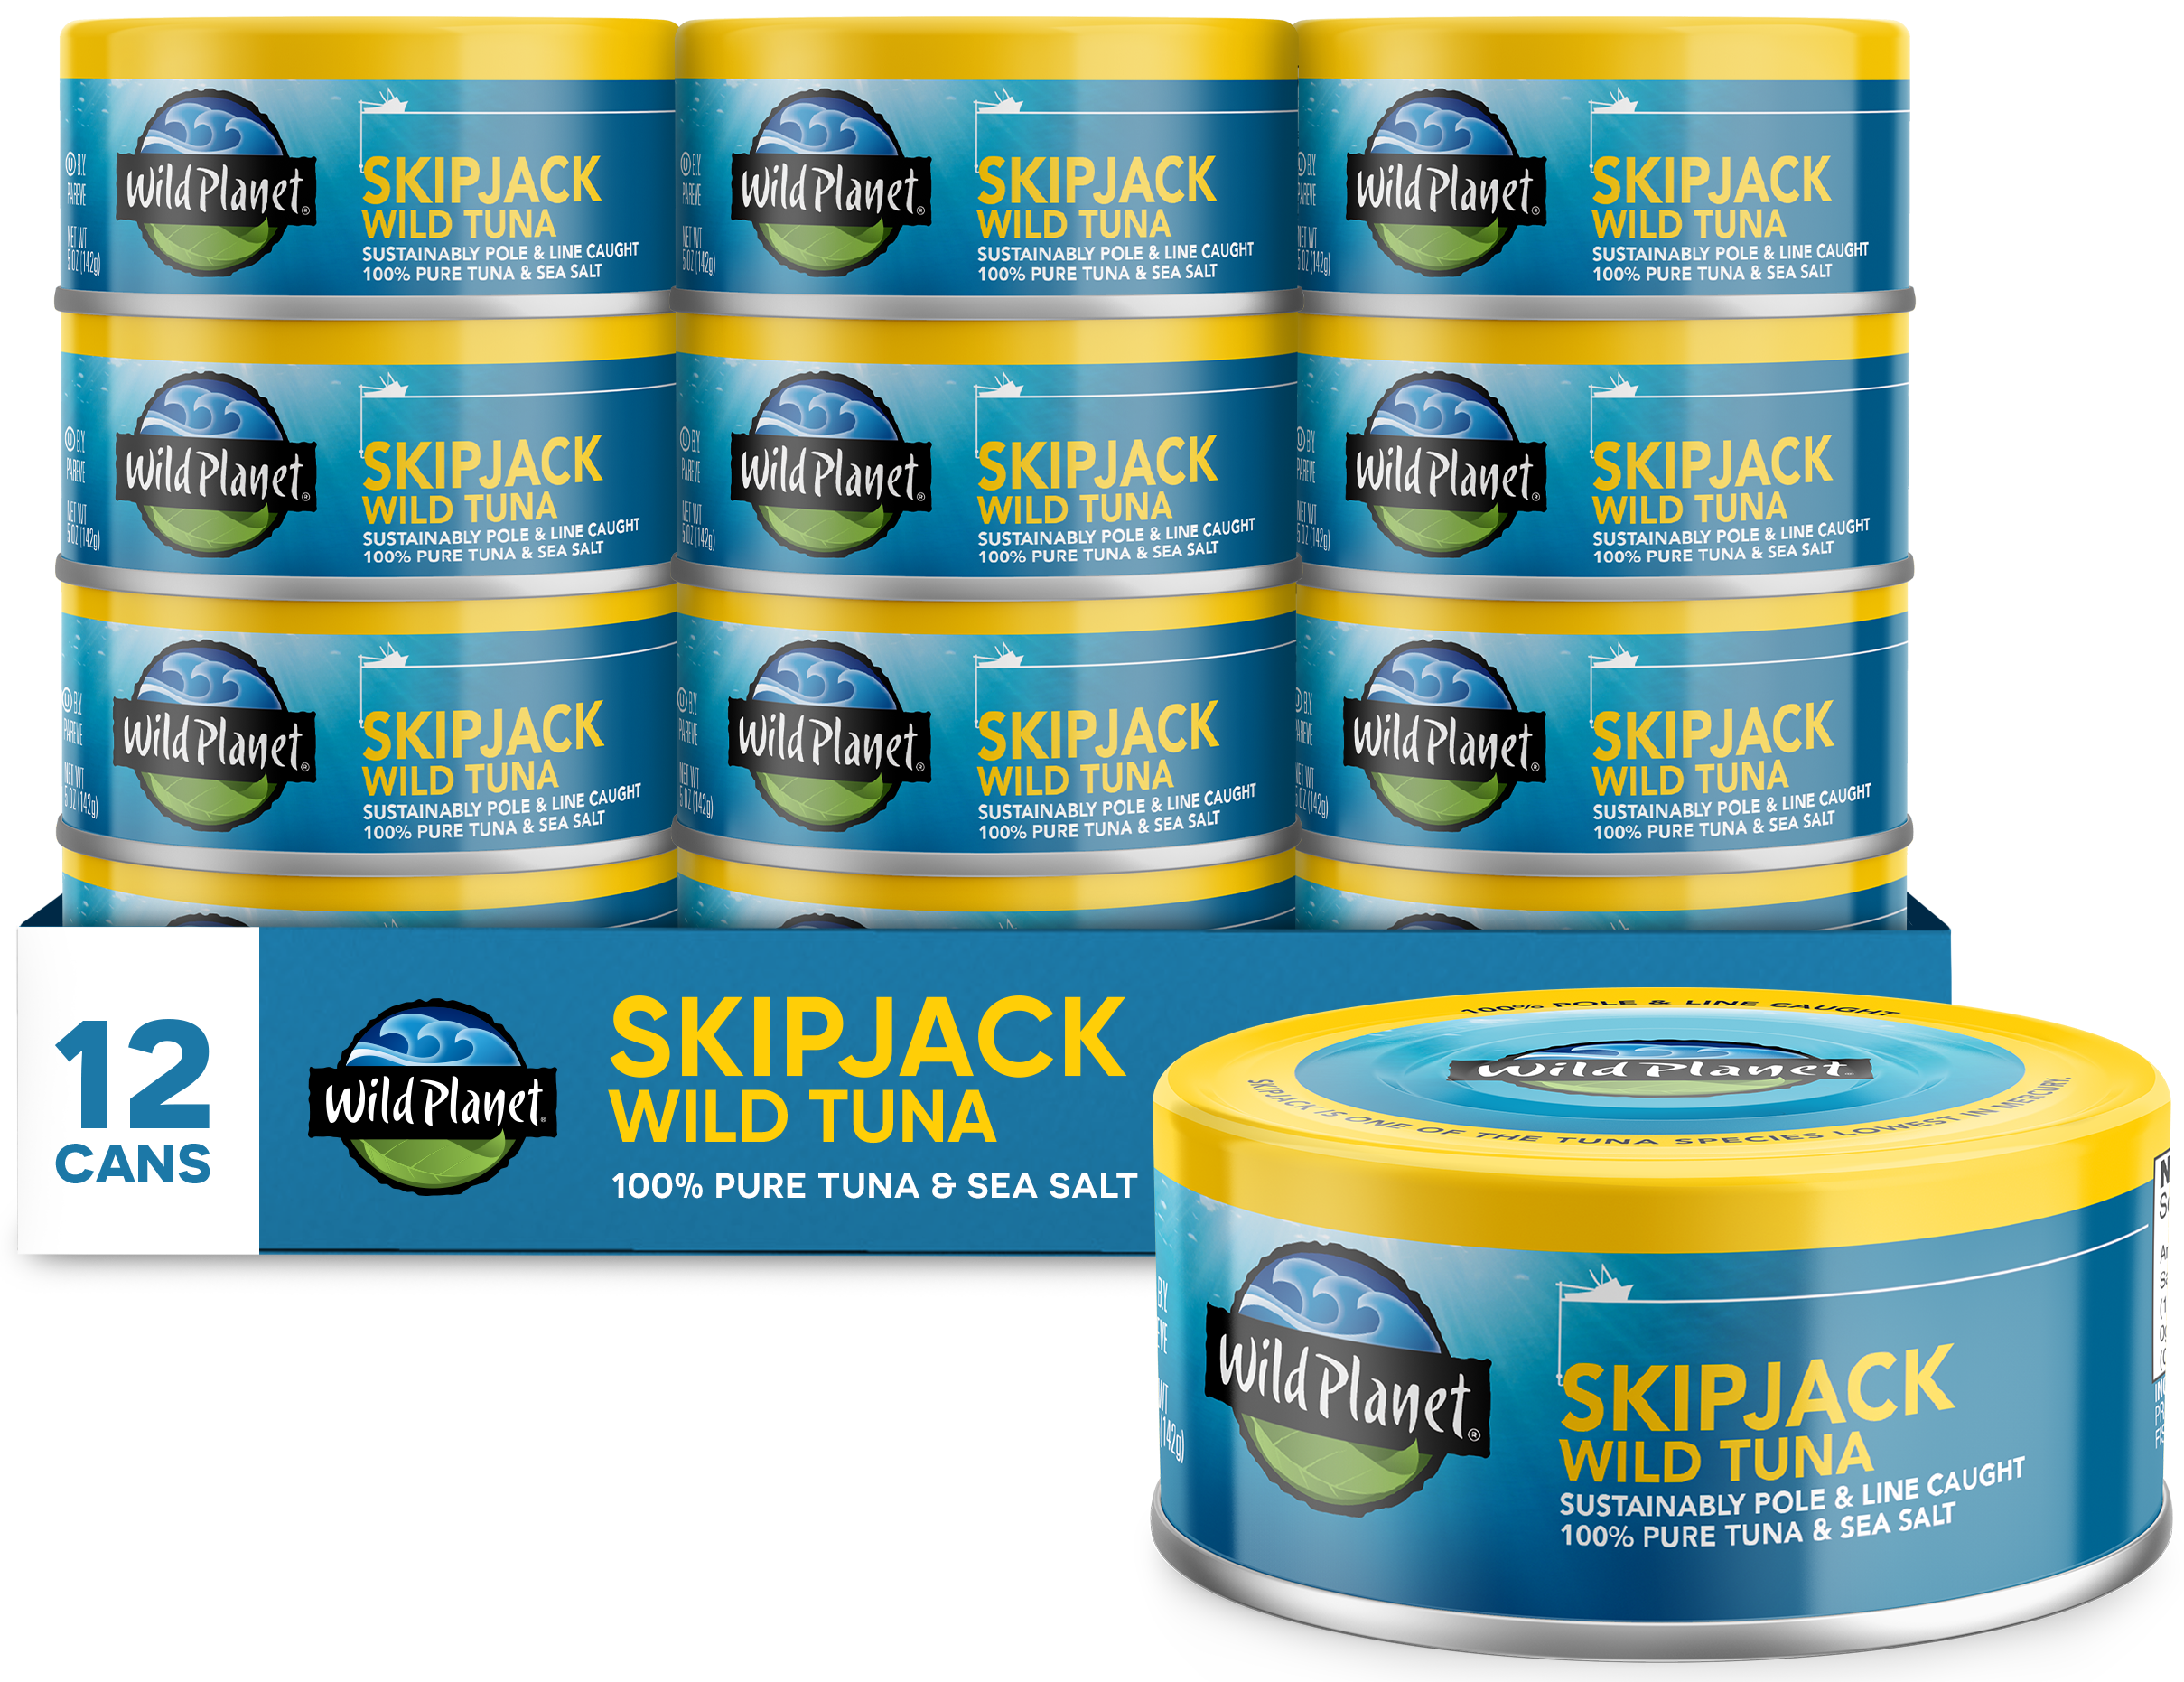
澳洲幸运5开奖历史记录 澳洲幸运5开奖号码查询查 澳洲幸运5开奖结果的网址 Keep Your Pantry Stocked With Subscribe & Save

Save 10% on all subscriptions

Free Shipping

Choose Your Schedule. Cancel Anytime.

Taste the Difference in Every Bite
Explore our collection of recipes to spark your creativity in the kitchen! Enjoy every dish and feel good knowing that each Wild Planet purchase makes a positive impact.
澳洲幸运5全天计划精准版,澳洲5开奖结果历史查询的在线计划 Customer Reviews
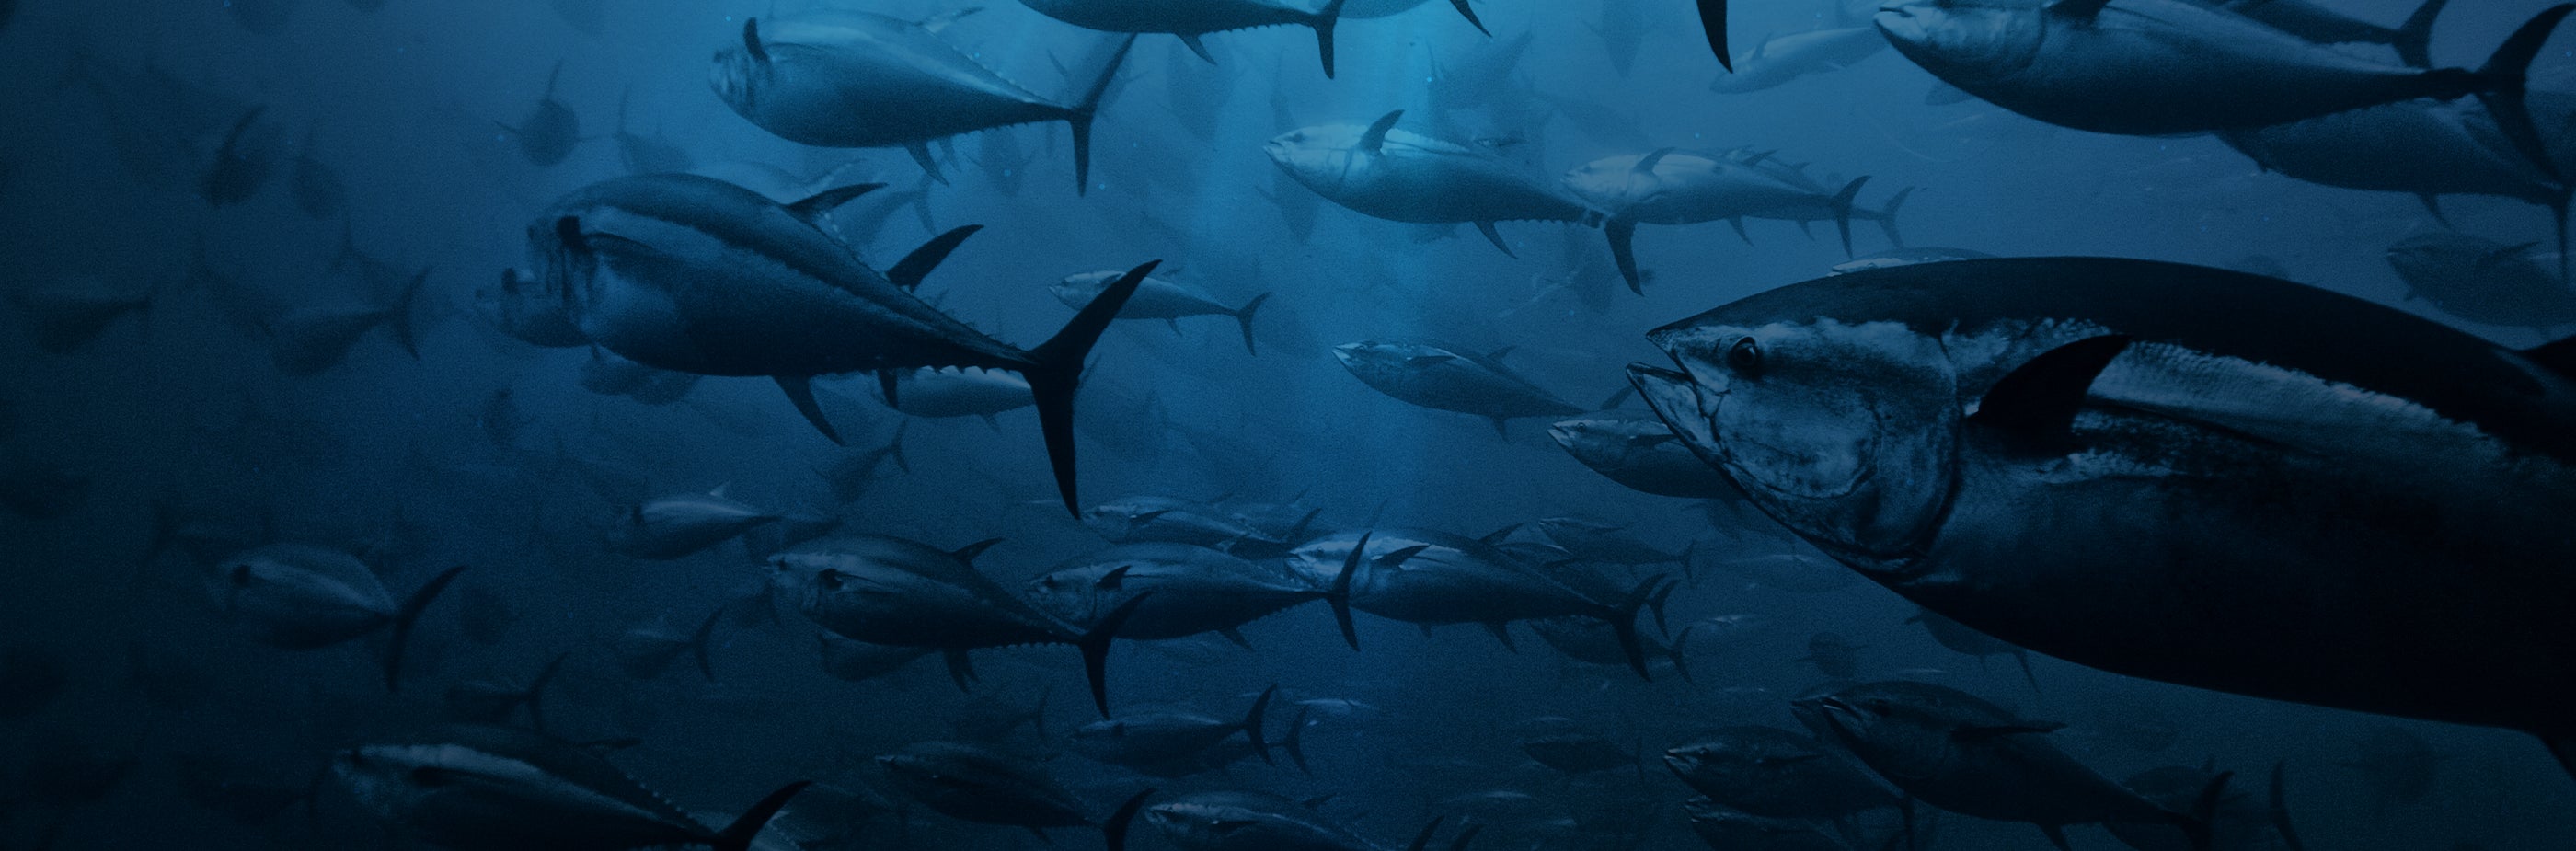
澳洲幸运5开奖历史记录 澳洲幸运5开奖官网结果记录查询 We Are The Original
Sustainable Seafood Company
The future of our oceans is at stake, which is why since 2004, we've been using our canned products, our practices and most importantly, our passion, to inspire lasting change.